Supabase Clone Environments
Clone Supabase production data, without personal information, to a development environment
We're massive fans of Supabase here at Snaplet, but as a Supabase user, you’ll know the pain and manual configuration in setting up multiple environments on Supabase, and populating each of those with data. Snaplet makes populating your multiple development environments with data, and keeping that data consistent across those environments, incredibly simple. This is rooted in a philosophy we believe in here at Snaplet: Environment parity.
"Environment parity" is a term introduced by "The 12 Factor App Methodology" that instructed developers to keep our environments as similar as possible so that we could have the confidence that if it “worked on my machine,” it would work in production:
If your development, testing, and production environments differ, even in ways you might think don’t matter, then you lose the ability to accurately predict how your code change is going to behave in production. This confidence in the code heading to production is essential for the kind of continuous delivery, rapid deployment that allows applications and their development teams to thrive in the cloud. – Kevin Hoffman
![]()
Environment parity sounds like a dream come true. In this guide, we’re going to tell you exactly how to do that with your data in Supabase! End-to-end, it shouldn’t take more than 15 minutes, and doing so will allow you to code against an accurate development environment that you can periodically sync with production. Chef's kiss!
You can follow along in the video below as our founder, Peter Pistorius takes you through the entire process, or refer to the written guide below.
Things you'll need before you begin:
- A production Supabase project's connection string: These can be found in Supabase via
Organization > Project > Database > Connection Pooling > Connection string - A development Supabase project's connection string: Same steps as above, but a different project/environment
- A read-only role in Production (recommended): This can be done by running the following statements on Supabase via
Organization > SQL Editor > + New Query
To create a read-only role across all schemas you can checkout our docs
- Superuser access for the development project. This can be done in Supabase via
Organization > SQL Editor > + New Queryand running this statement:ALTER USER postgres WITH superuser;
Step 1: Connect your data source
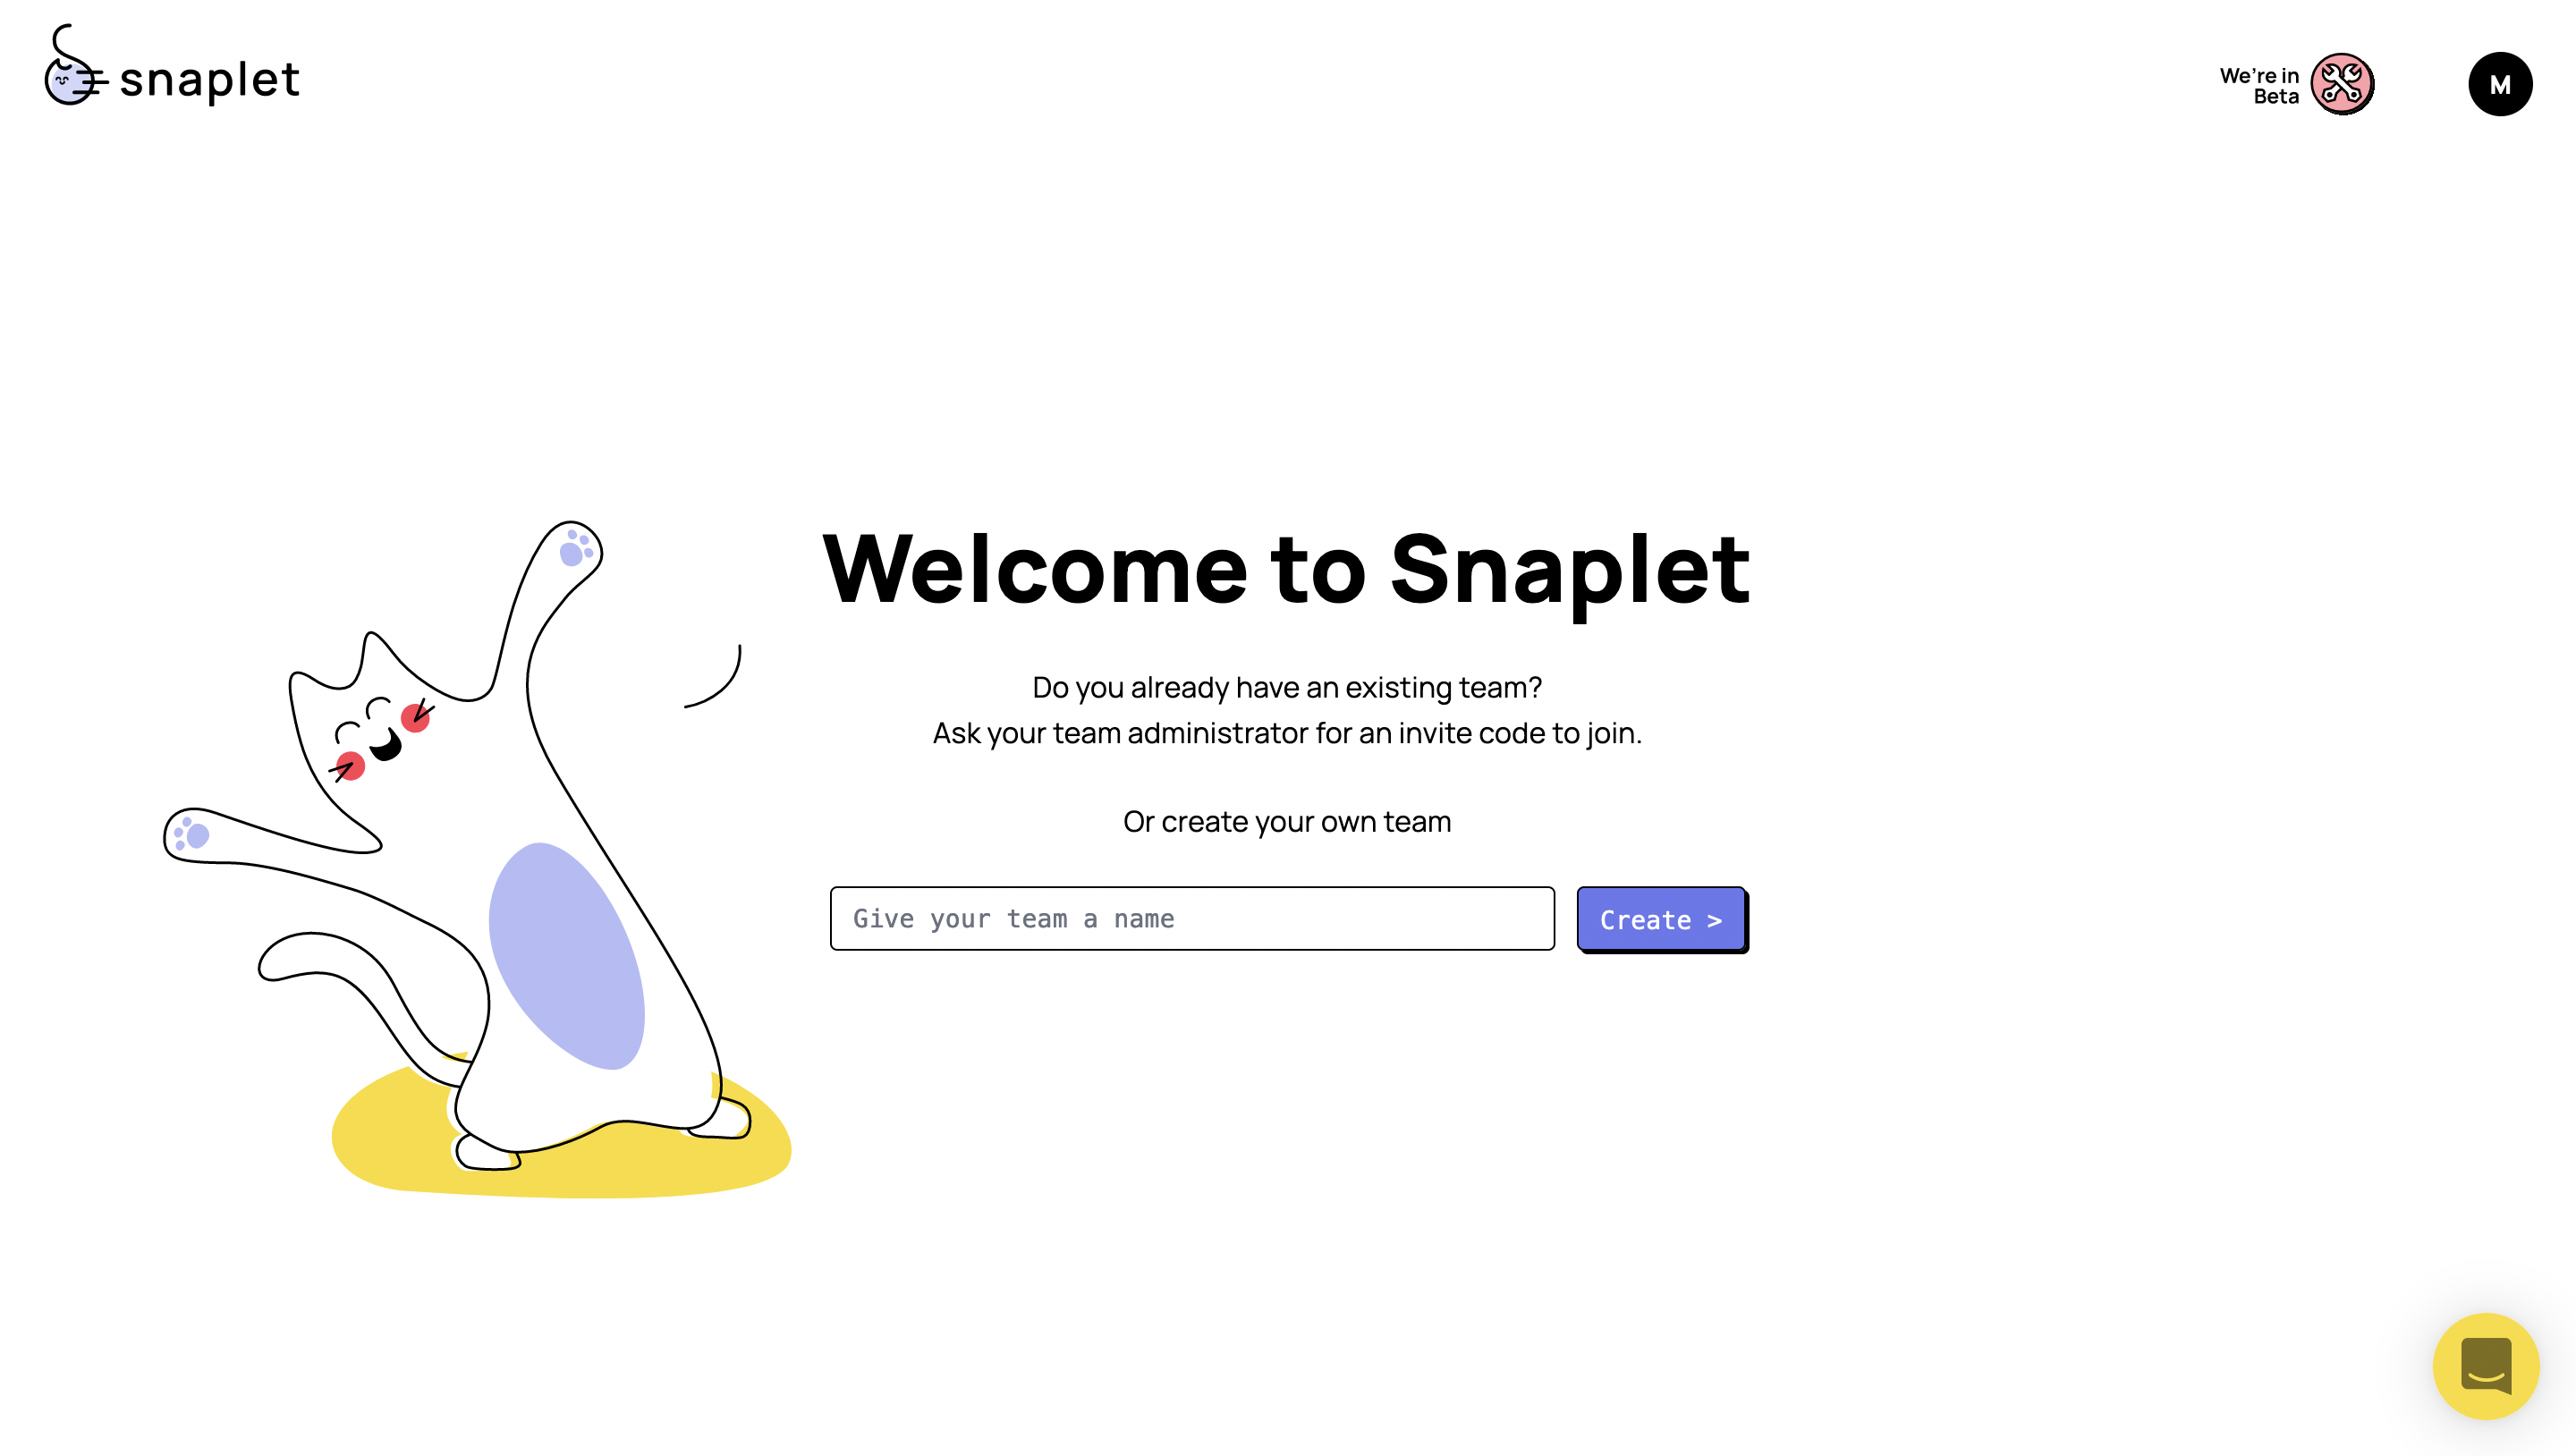
The first thing you’ll want to do is navigate to https://www.snaplet.dev/ and sign up for a new account (it’s free). Once you have successfully signed up for a new account, you’ll begin the onboarding process...
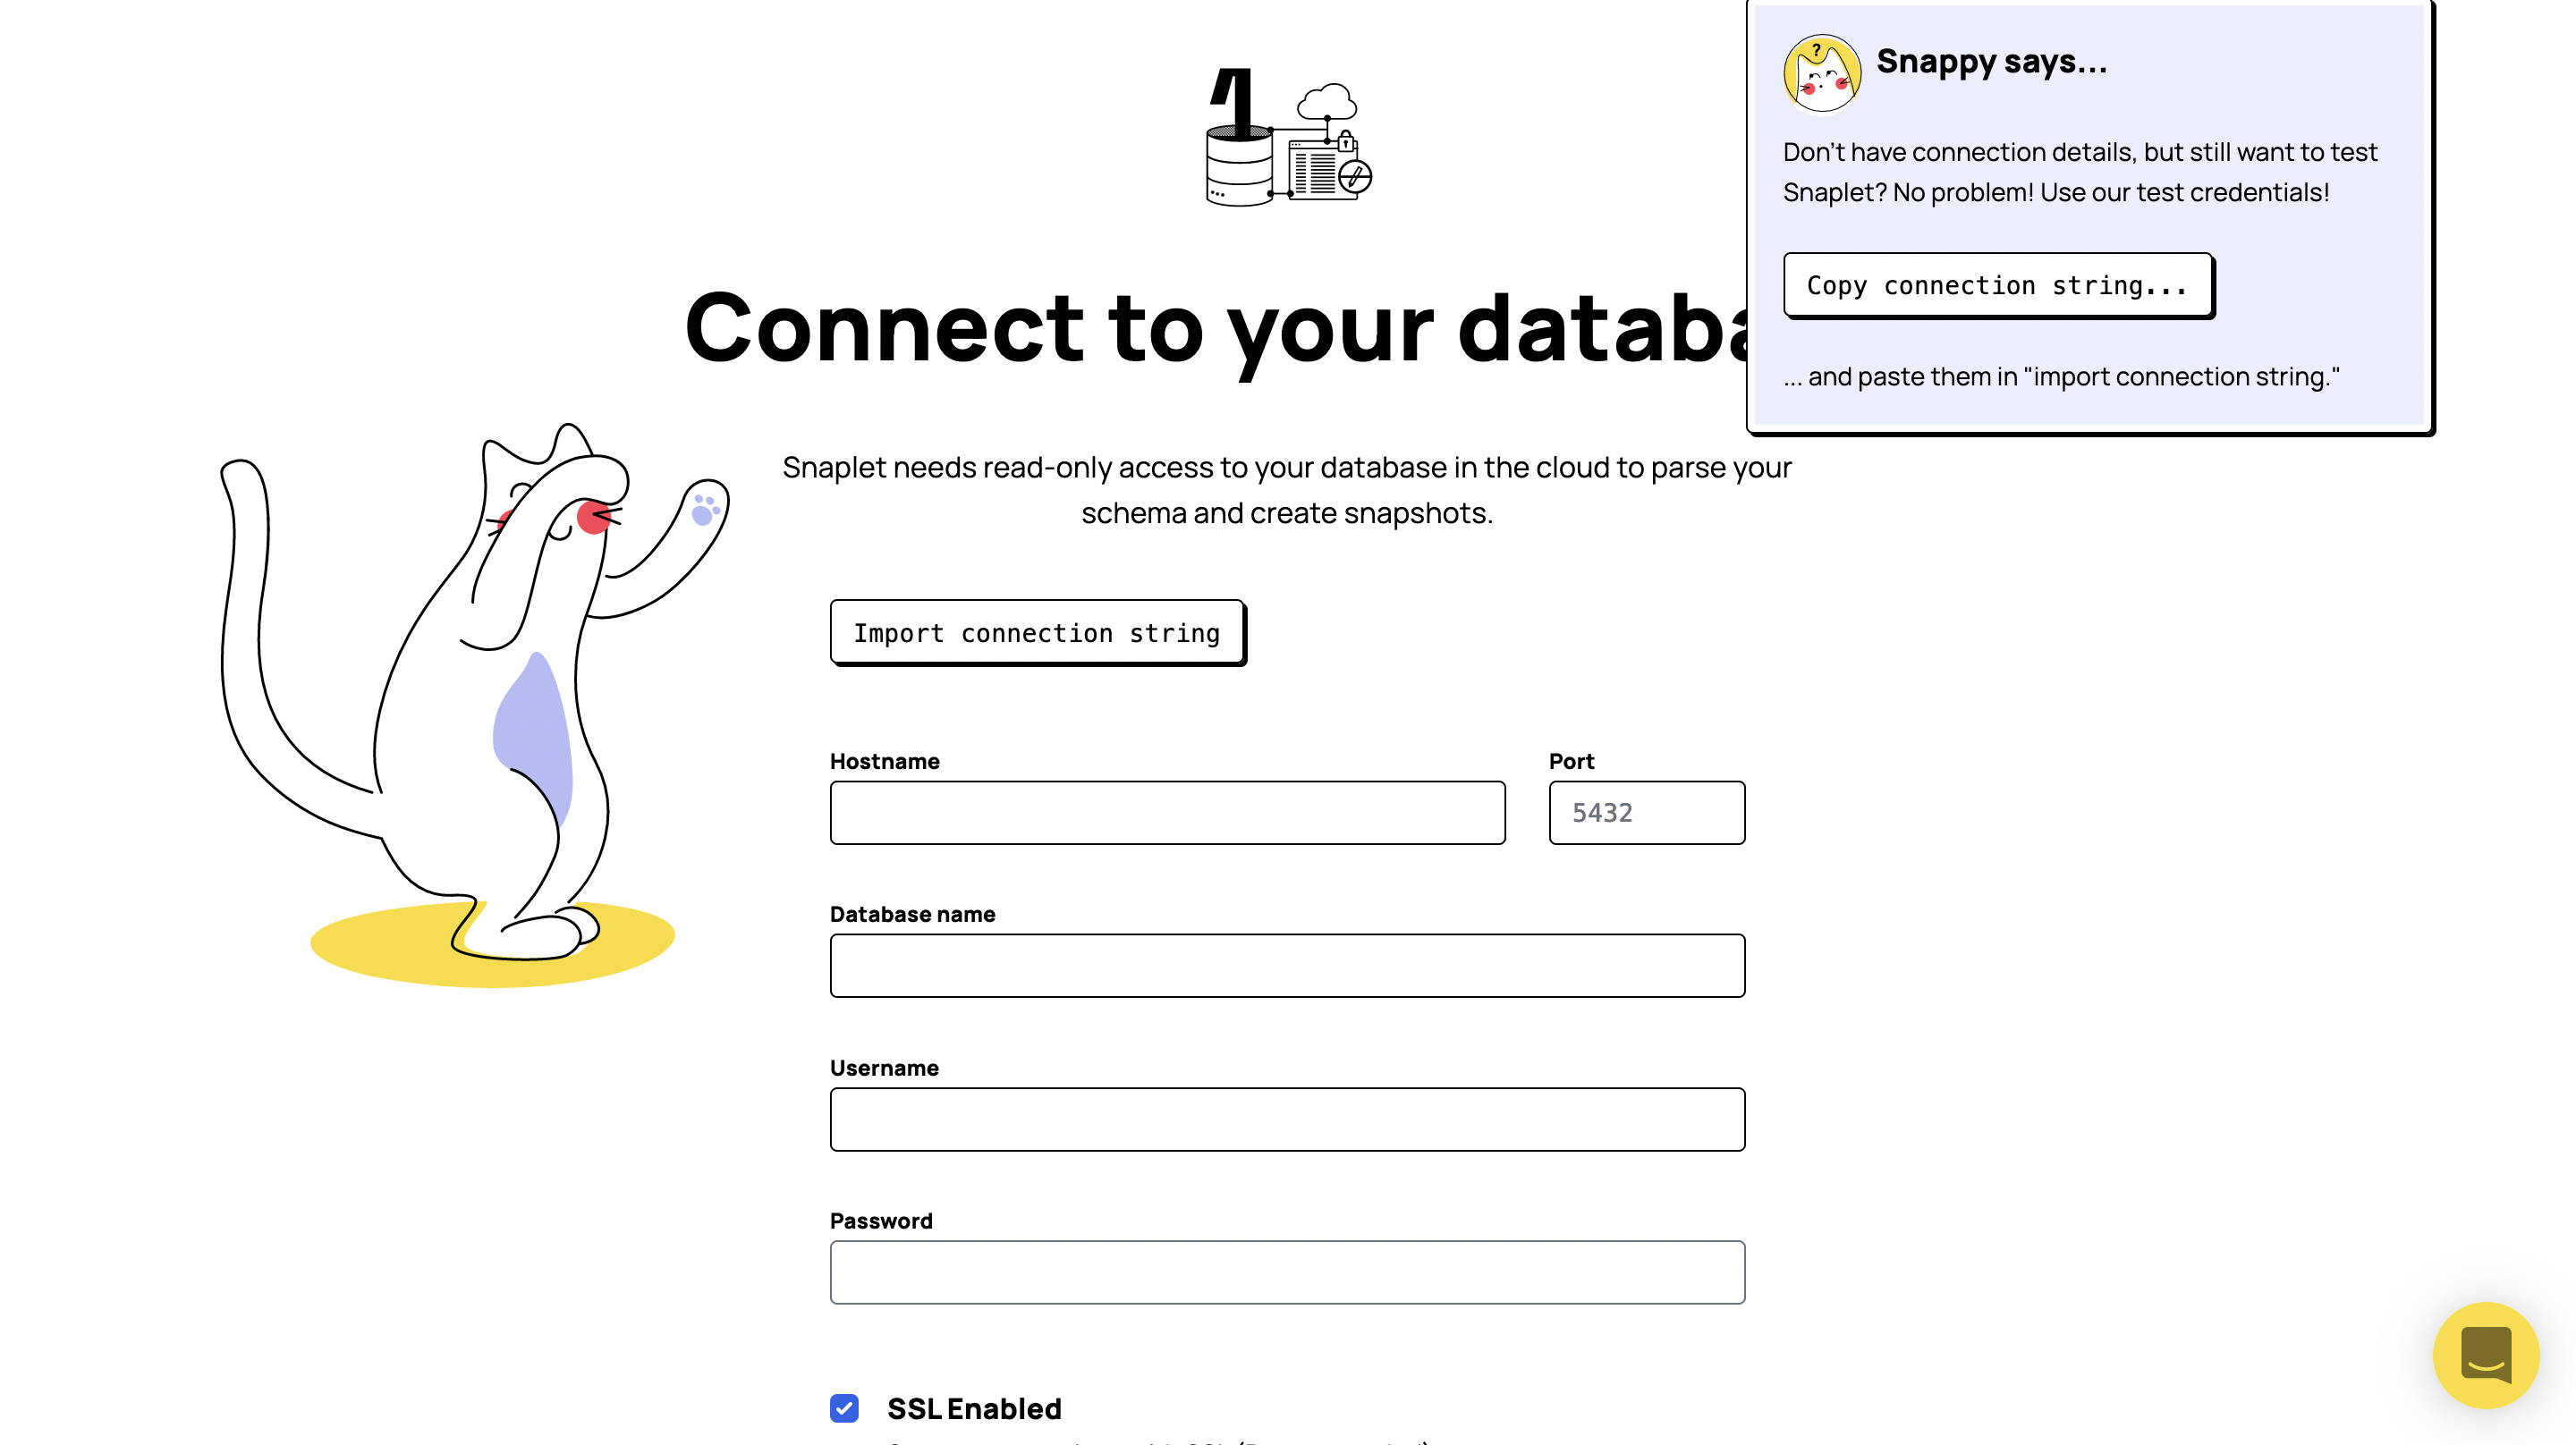
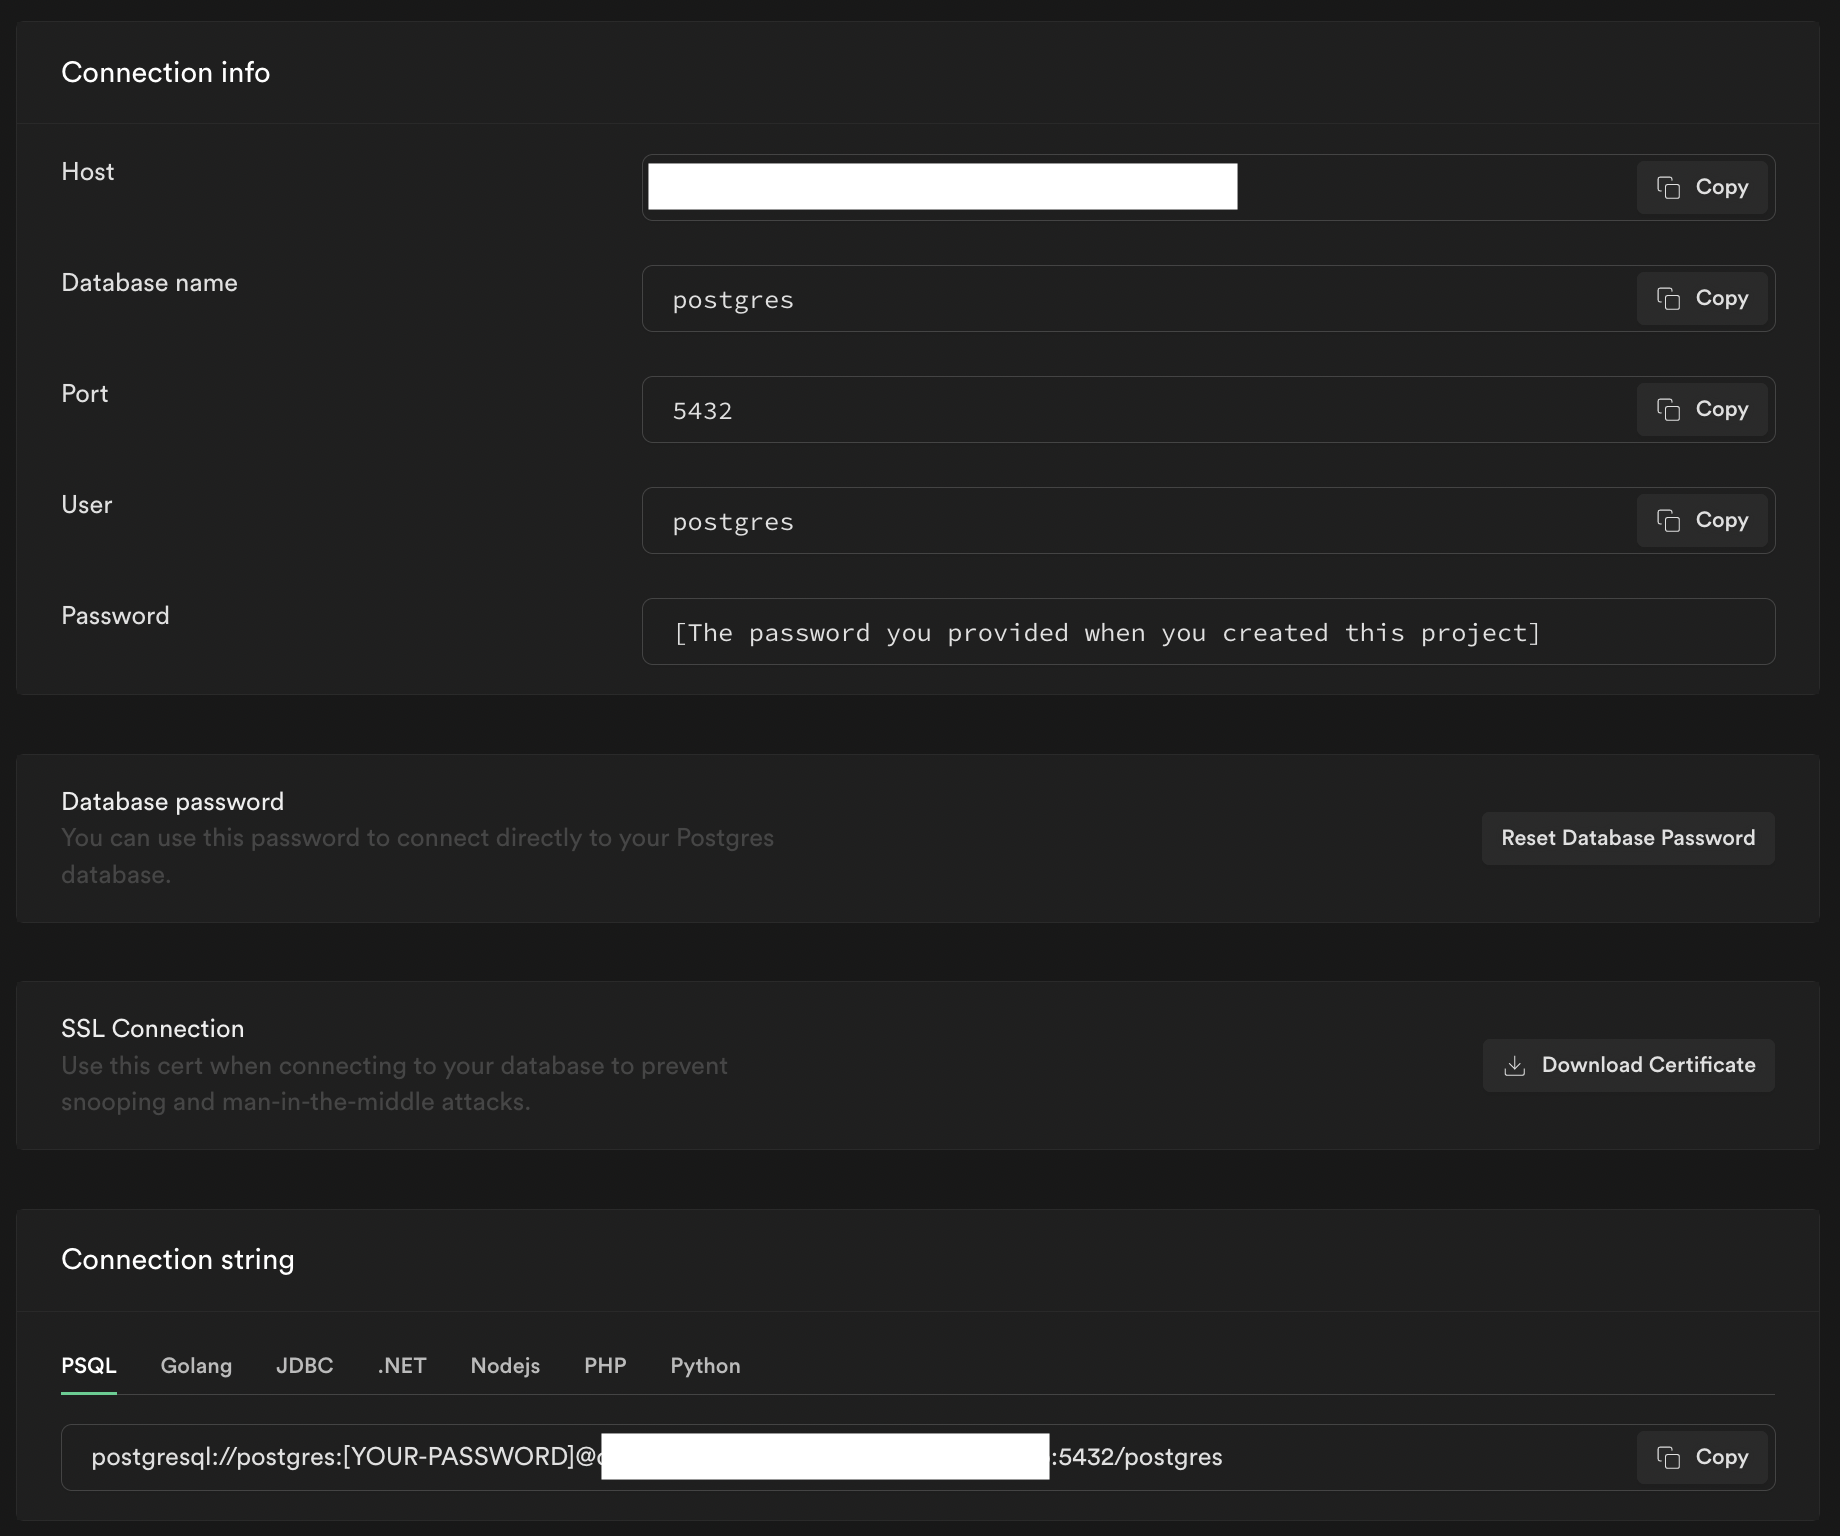
You’ll then want to enter the credentials of your production Supabase project. Find the "Connection string" in Supabase via Organization > Project > Settings > Database > Connection string (At the bottom of the page.)
Remember that the password is the same password you used when creating the Supabase project.
You’ll then have to confirm providing Snaplet access to your database. Snaplet will prompt you to only provide read-only access to your database. We have a guide in our documentation on how to go about this and you can check that out here.
Note that whatever connection string you provide here will be that of your
Data Source– essentially the production database in a real-life scenario

Step 2: Transform your data
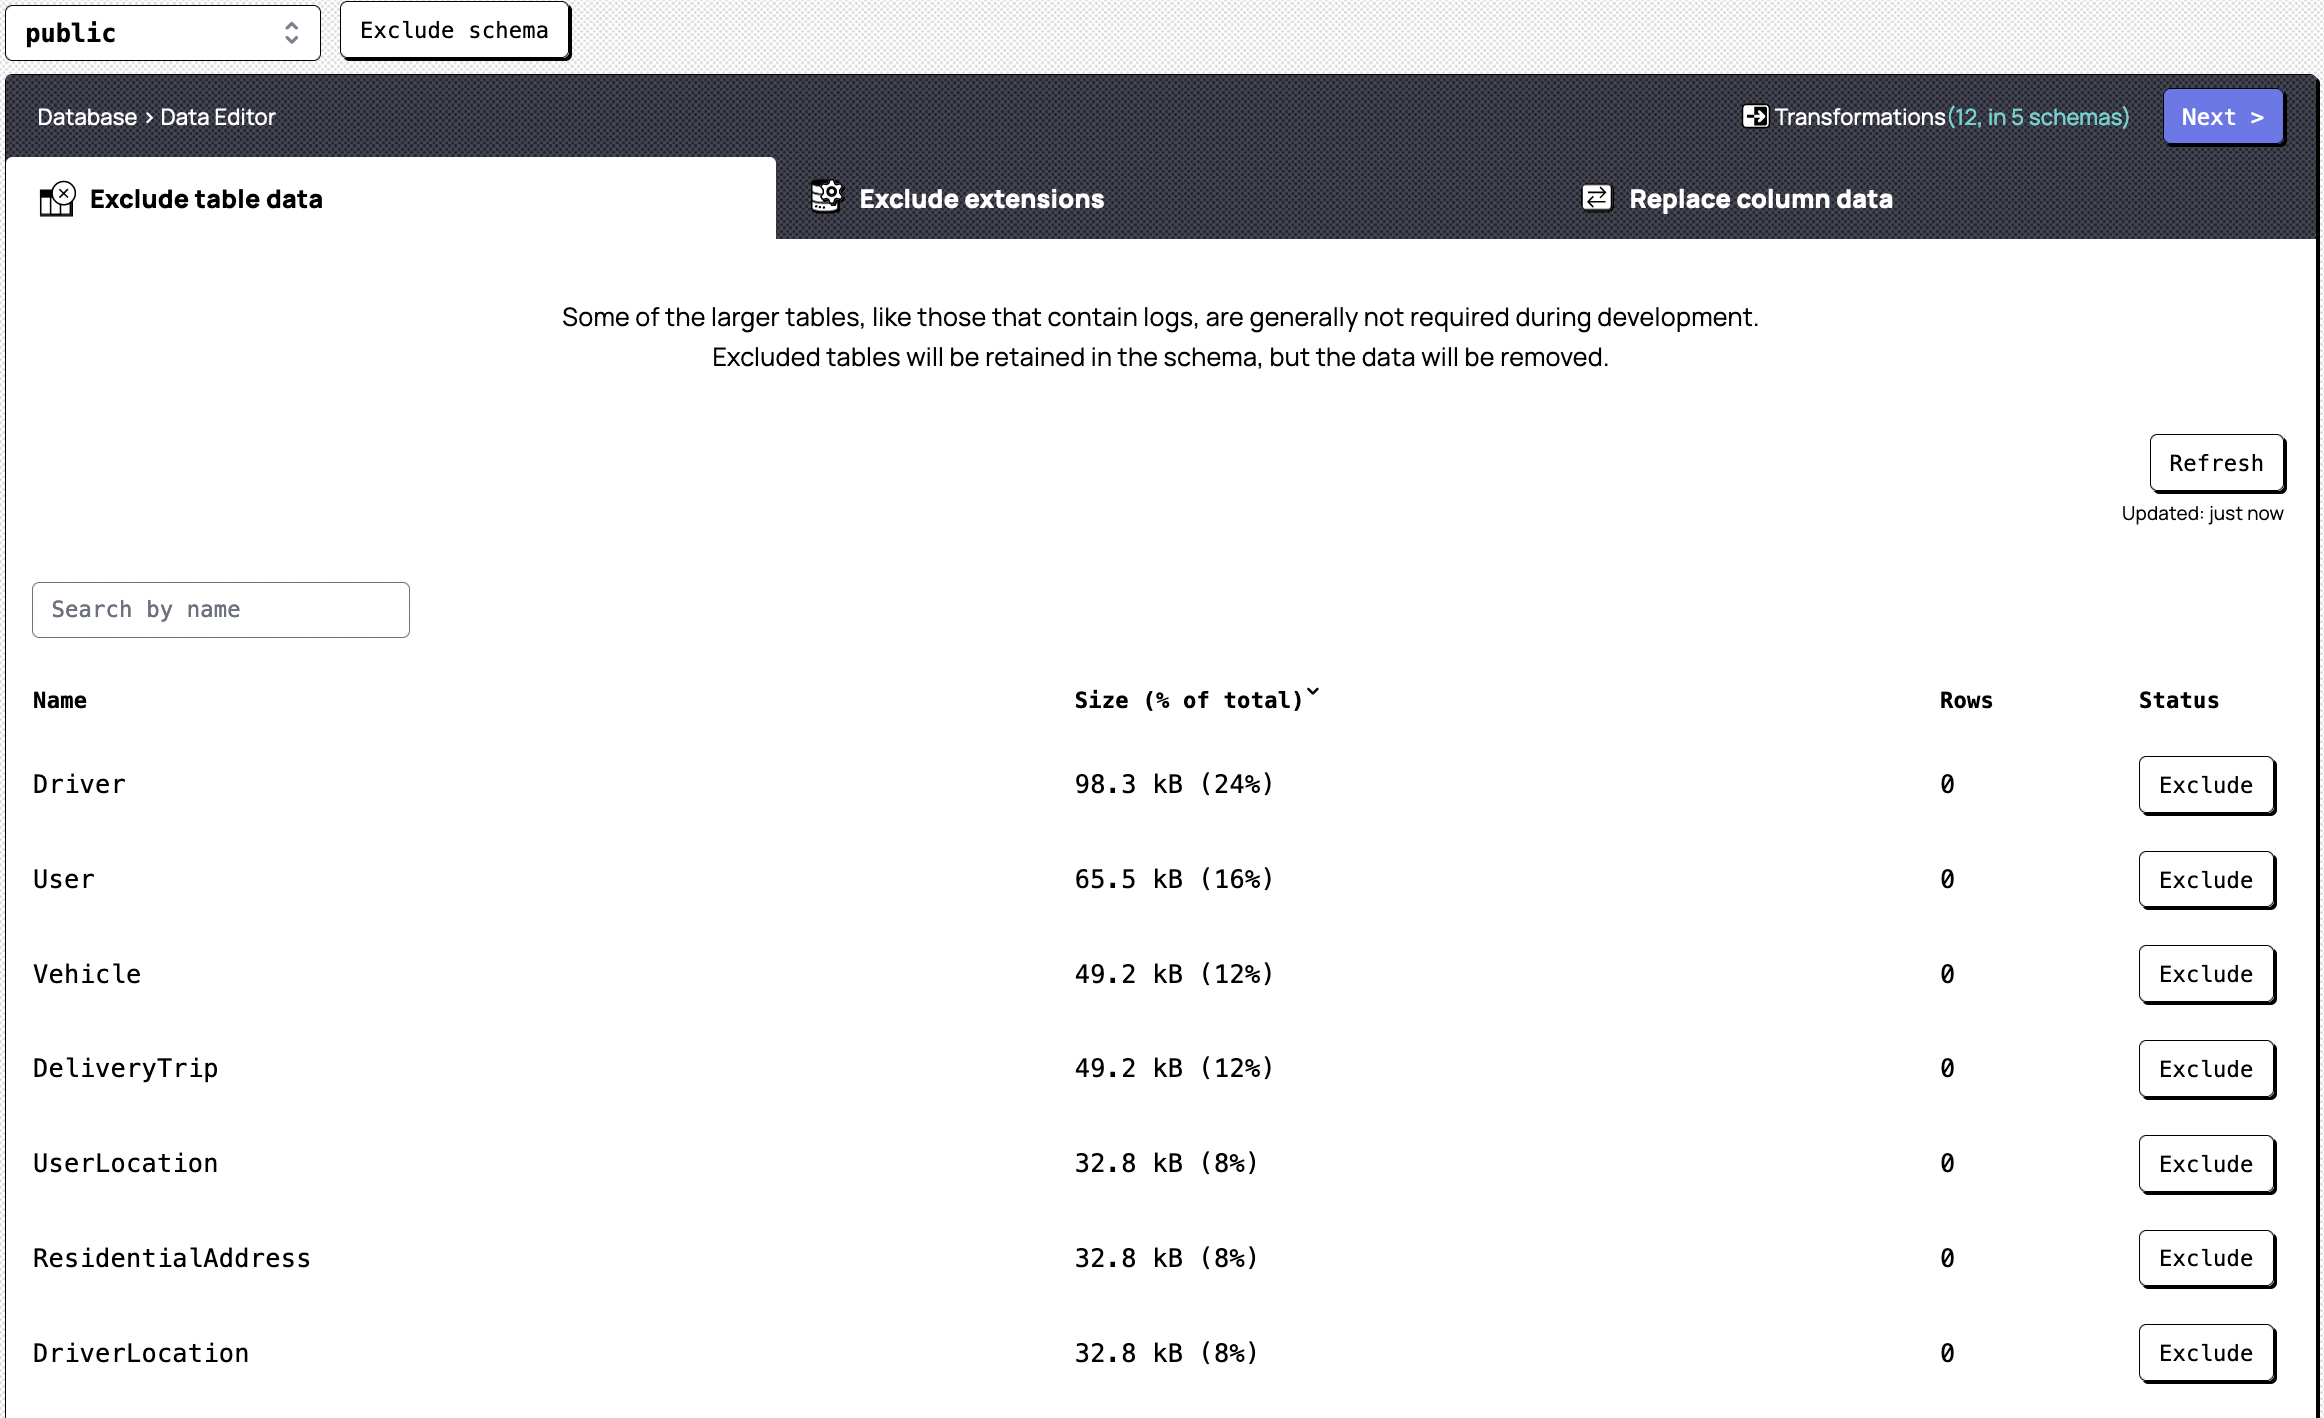
Here, you are going to want to exclude any schemas that you do not require. You are able to exclude an entire schema by click on the drop-down at the top, selecting the schema you would like to exclude and clicking ‘Exclude schema’. Alternatively, you can select a given schema and exclude only specific tables from that particular schema. Exclude any non-required table data (such as logs) and extensions and view your columns.
At this point, Snaplet will automatically detect any columns that have Personally Identifiable Information (PII) and mark them in purple. If there are any additional columns that hold data you would like to anonymise, you can click on the respective column name and provide a replacement value for the data in that column. Once you are happy and satisfied, you can click on Review and Save and proceed to the dashboard.
Step 3: Create a Snapshot
Next you’ll want to create a snapshot of your production database. This is what you’re going to restore later into your data target (more on that later in the guide).
Step 4: Create a data target on Supabase
Your data target is where you want Snaplet to restore the captured snapshot of your production project. This would most likely be either your staging or developer Supabase project.
If you don’t already have a developer database setup on Supabase, you’ll need to create a new data target by setting up a new project on Supabase. To create a new project you’ll have to do the following:
- Go to app.supabase.io
- Click on “new project”
- Enter your project details
- Wait for the new database to launch
Remember the password you use when creating the project. You’ll need this password to connect your database to Snaplet later.
Step 5: Make your postgres user a superuser
Snaplet requires the ability to drop the database schemas whilst restoring a snapshot, in order to do that we require superuser privileges.
- Navigate to your
SQL Editorin your Supabase console - Click on
new query - Paste
alter user postgres with superuser;into the SQL editor - Run the query
Step 6: Install the Snaplet CLI
- Open your terminal and run
curl -sL [https://app.snaplet.dev/get-cli/](https://app.snaplet.dev/get-cli/) | bash - Run
snaplet auth - Navigate to
https://app.snaplet.dev/access-token/clito get your access token - Paste your access token in the terminal
Step 7: Restore to the data target
You're now ready to restore your production snapshot into your Supabase development project.
- Navigate to your project directory
- Run
snaplet setup– you will be prompted to enter your database credentials. These are the database credentials of your data target. This could be your staging or development database
Once you have successfully completed the above steps, you will have be presented with a list of options – these options are databases that are connected to your Snaplet account.
- Select a data source from the list
- Run
snaplet restore

All done!
As a Supabase user, you can see how this solves an issue we all typically experience when attempting to create multiple development environments and populating each of those environments with data that you can work with. With Snaplet, this process is simplified down to creating the respective Supabase projects, connecting the data source (The production database) to Snaplet and telling Snaplet where to restore that data (staging and development databases).
If you want to learn more about Snaplet, you can explore our docs. If you have any questions, feel free to reach out on Discord .